Step-by-step instructions in setting up your automated billing to charge your clients hosting fees
Step 1
Staq uses Stripe to manage and store all credit card details. Staq does not store any credit card details on file other than the last 4 digits and the expiry date.
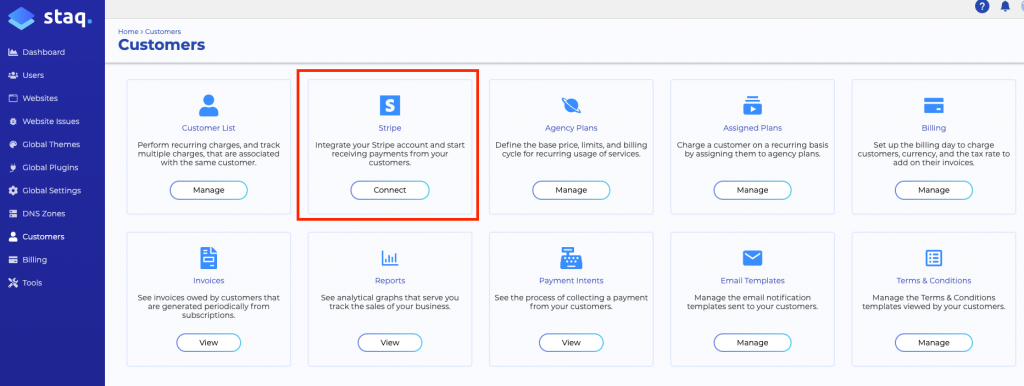
To connect Stripe to your agency Staq account, click Clients > Stripe and then Connect:
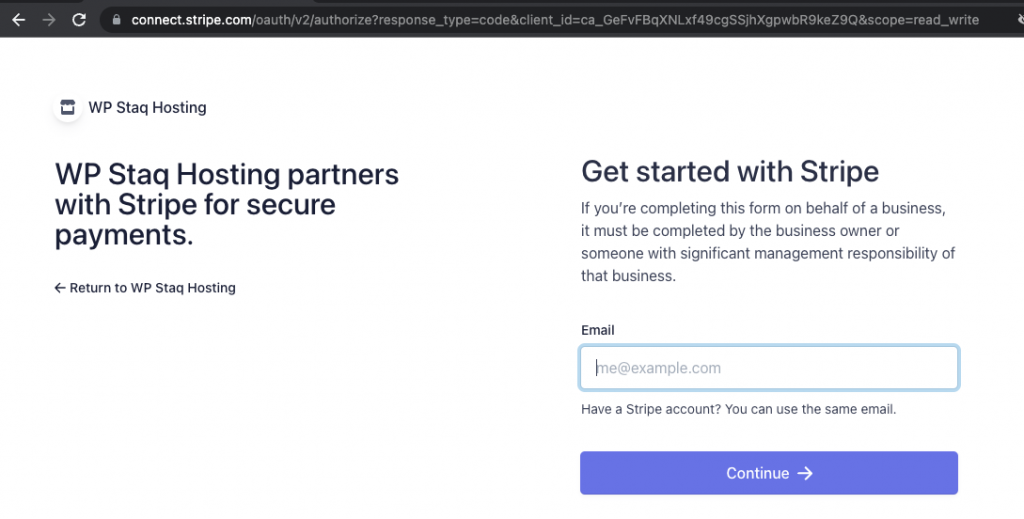
From there, an authentication page from the Stripe domain will open. If you have a Stripe account, enter your email details. Otherwise, sign up to a Stripe account at Stripe.com and then follow Step 1.
Step 2
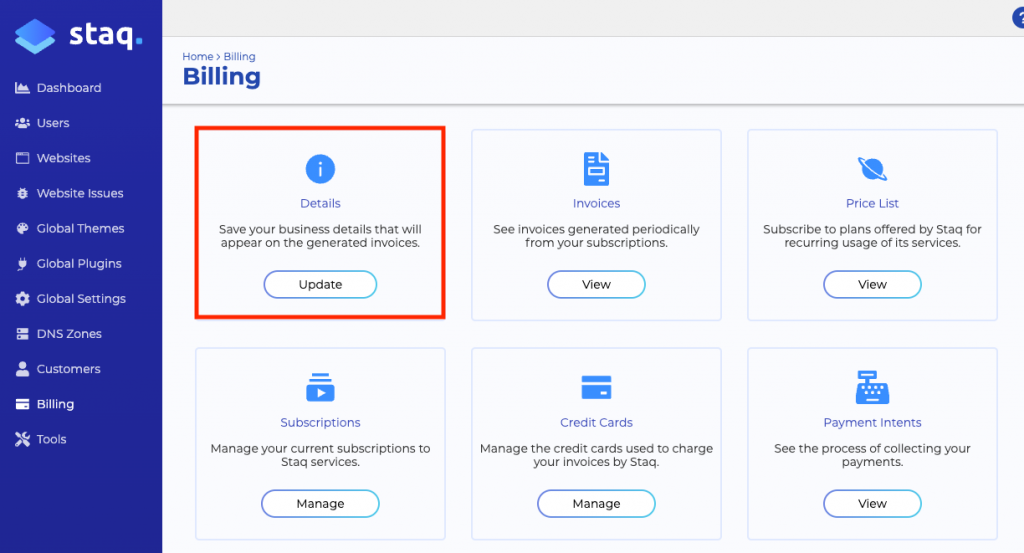
Now, you have to go to a different screen. Click on Billing on the left-hand side and then Details:
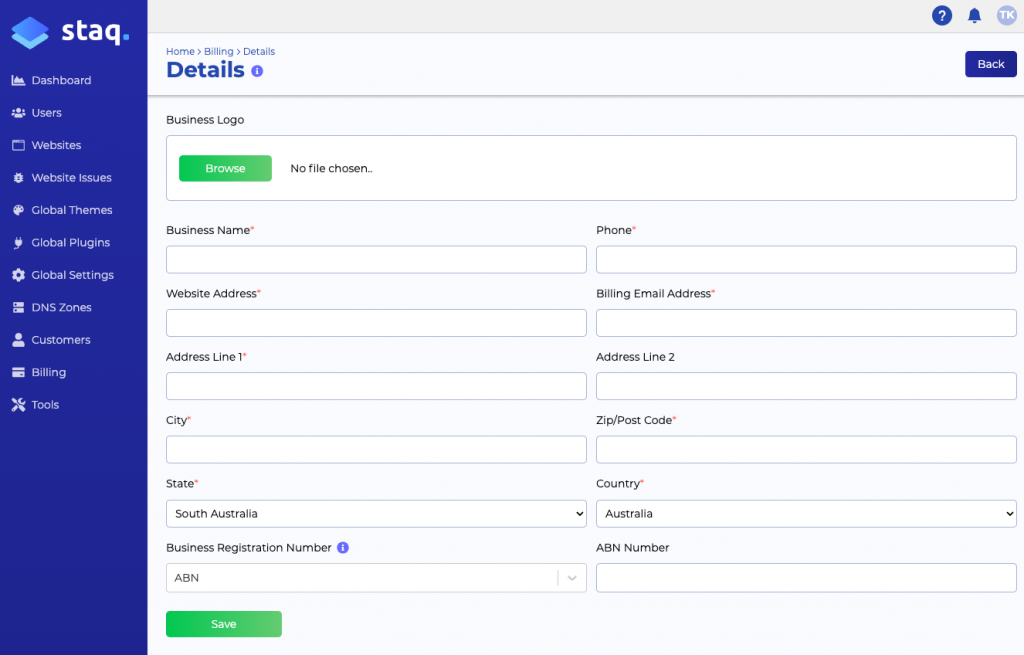
Then, fill out all your organizational details, including logo and tax details. These details will appear under your white-labeled invoice that is sent to your clients each month automatically.
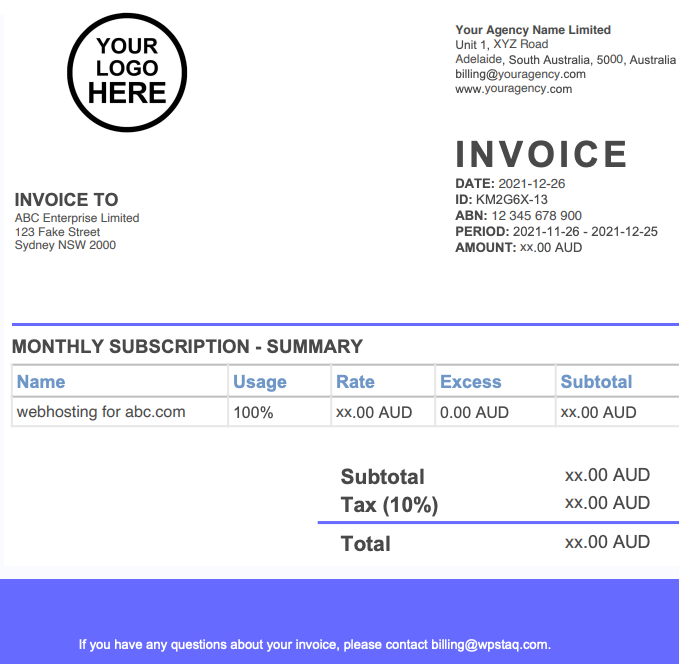
An example of what a white-labeled invoice looks like appears below which is sent to your client 24 hours before Staq instructs your Stripe account to charge:
24 hours later, Staq will instruct your Stripe account to charge your credit card and a receipt email will follow. If payment failed, a failure email is sent. You can control the wording of the email templates which is described in Step 7.
Step 3
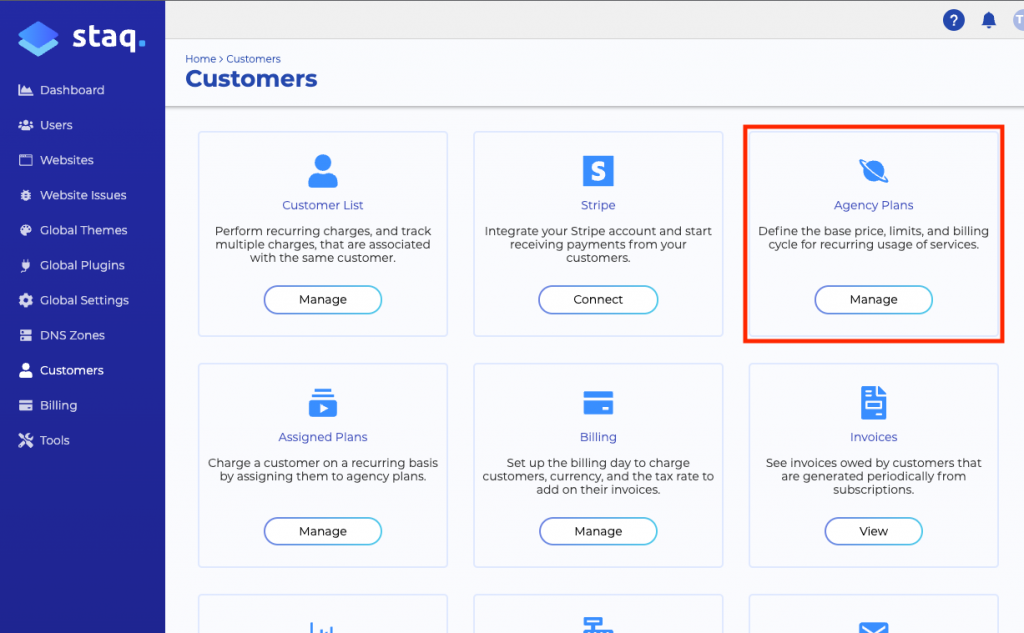
Back to the Clients page in the sidebar. Click Clients > Agency Plans:
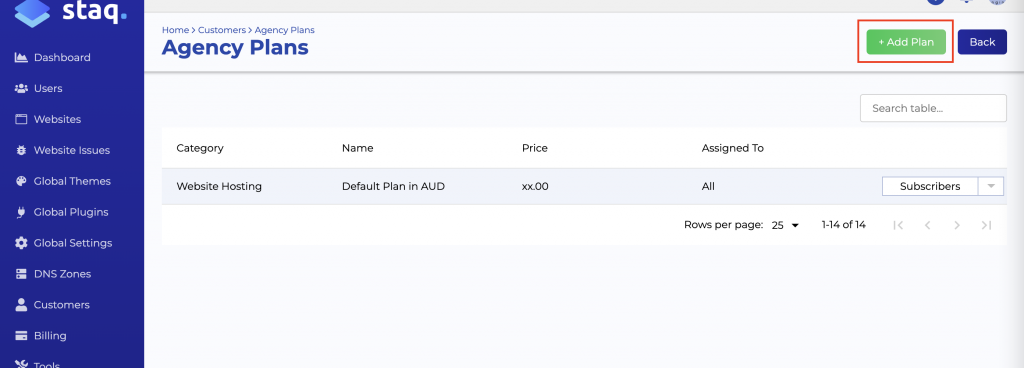
Then, click Add Plan:
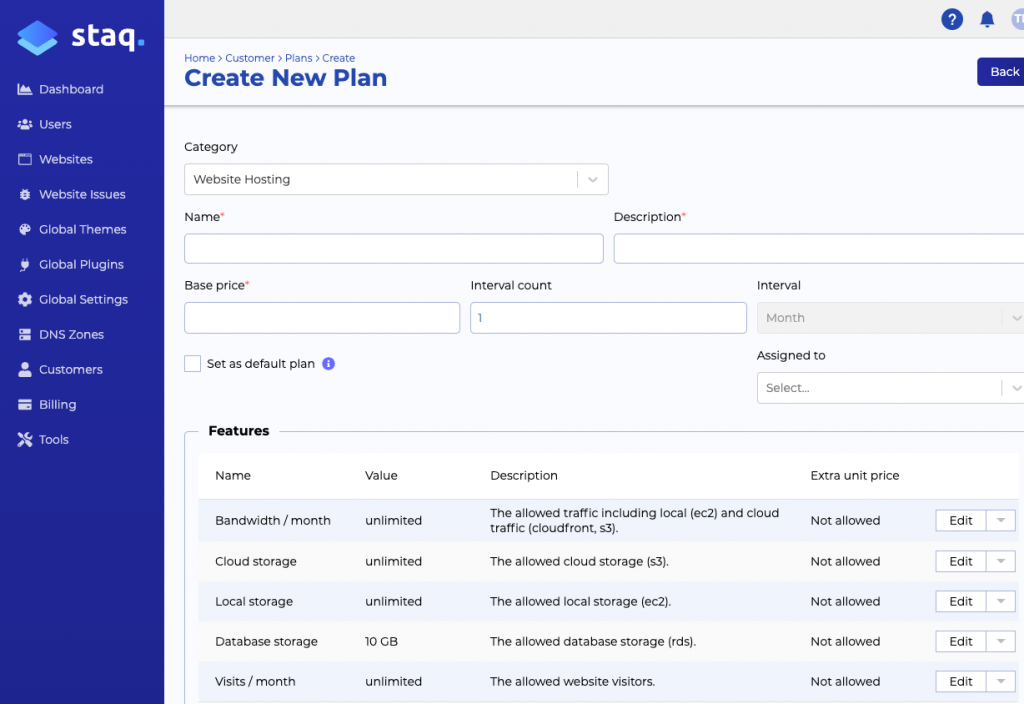
From there, you can create custom plans. They can be:
- default plans that apply to all or the majority of your clients
- specific plans that apply to 1 client or a handful of clients
Each plan can set base rates and excess charges. The user experience is much like the billing experience of Amazon AWS as you pay based on resources used. Excess charges are called Extra unit prices inside Staq.
Step 4
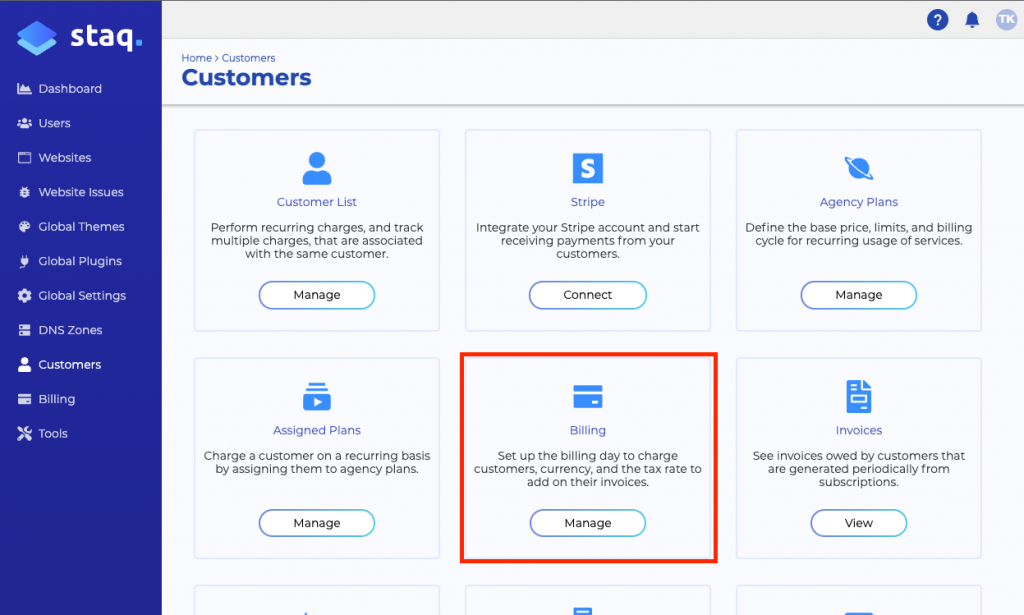
Billing relates to your billing settings and taxes. Go to the Clients page from the left sidebar. In Clients, click Billing:
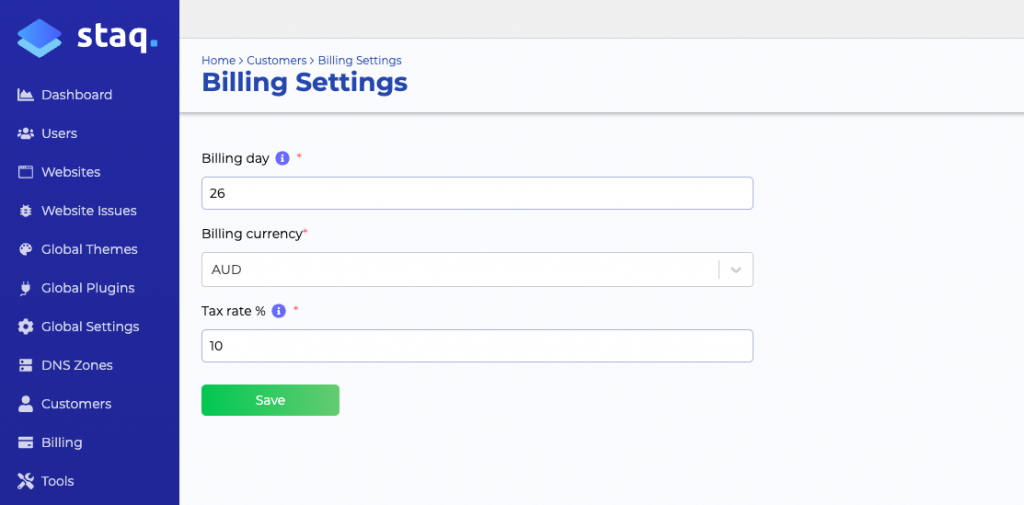
From there, you’re able to set:
- the billing date so that it will charge your clients on that particular day every single month.
- currency
- tax rate
Step 5
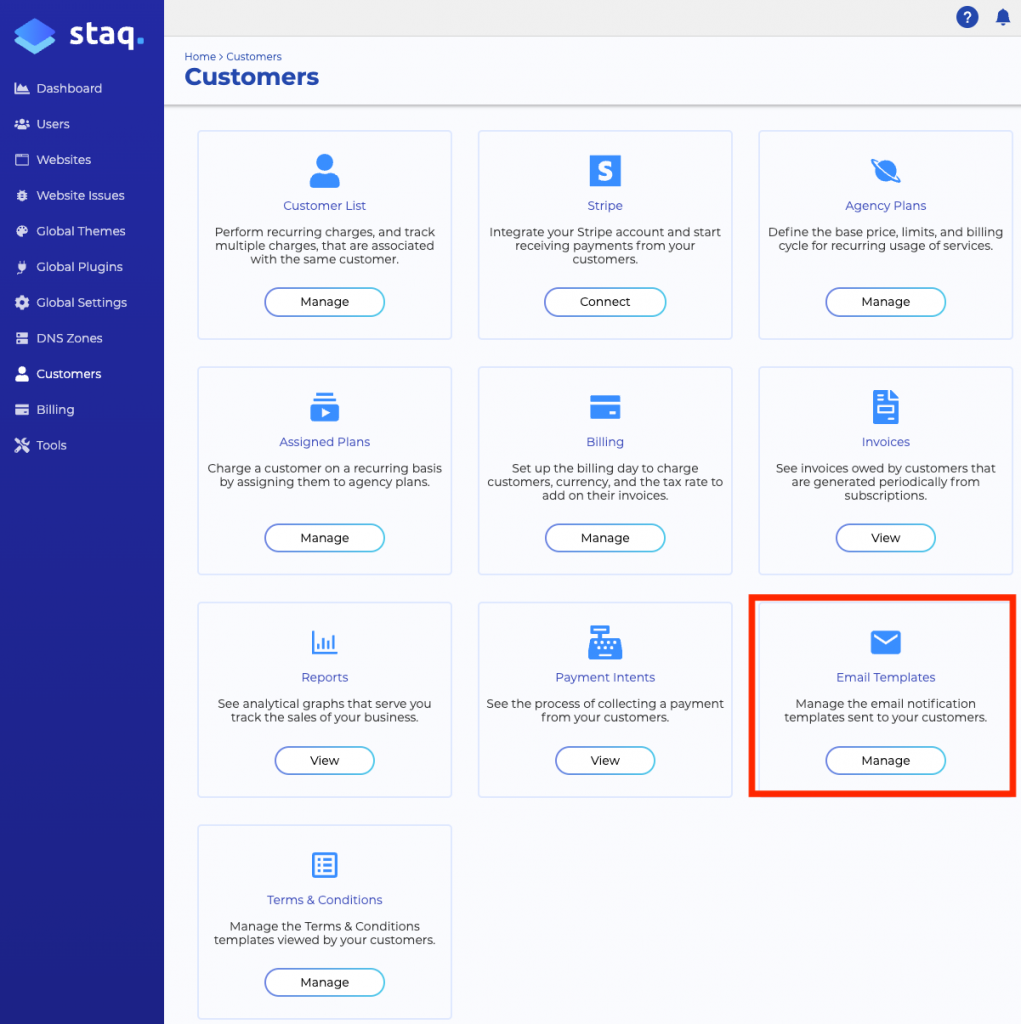
*OPTIONAL* If you require full control of the messaging for each email template that Staq sends, go to the Clients page and click Email Templates:
From there, you’re able to amend the following email templates:
- credit card is about to expire
- expired credit card
- pending account setup
- a new invoice is available
- payment was successful
- payment has failed
- new plan subscription
- subscription cancellation
Step 6
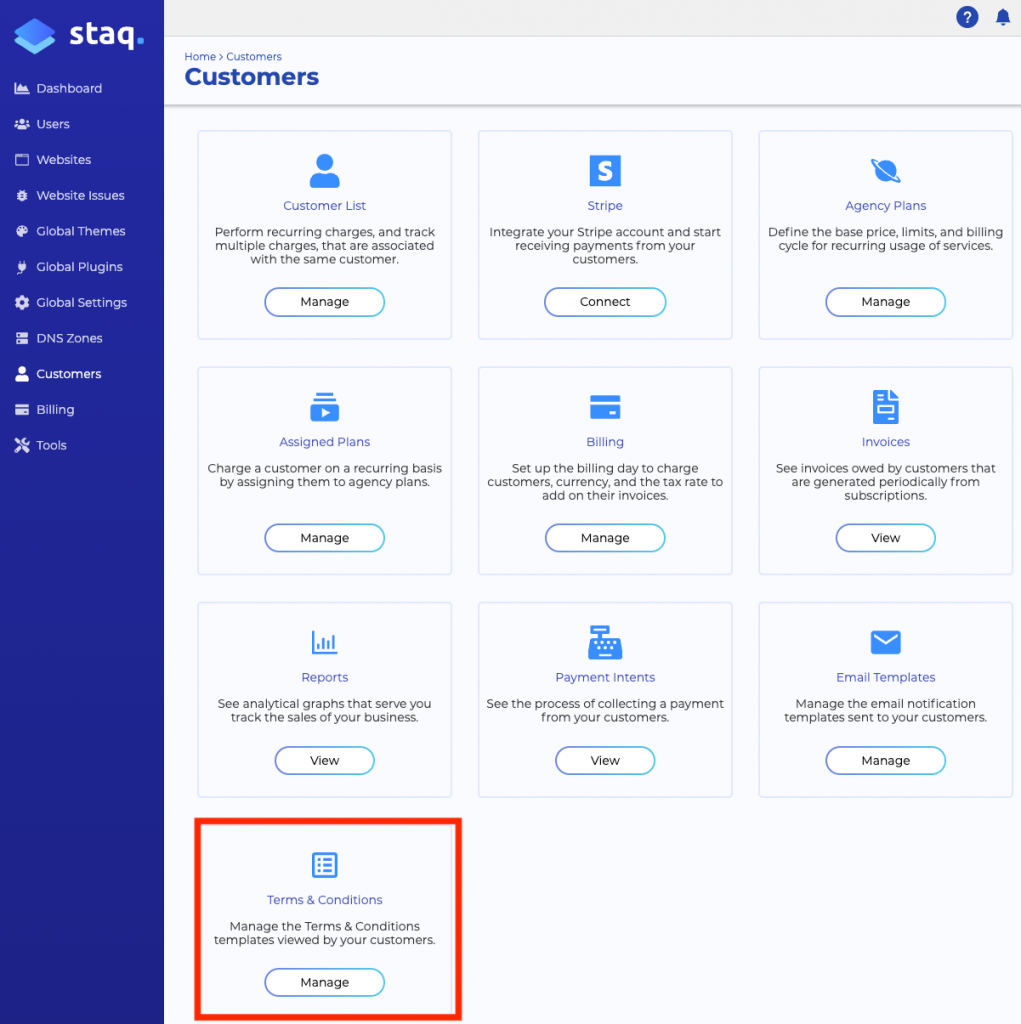
*OPTIONAL* If you have Terms and Conditions for your web and hosting services, you can place your terms as part of the sign-up process. On the Clients page, click Terms & Conditions:
Client sign up
Now that you’ve successfully set up your billing settings in Staq, it’s now time to create your client list and issue them a request to finalize their account sign-up. Those details appear in the next knowledge base article titled, How to create a customer and request for payment.
Need some help?
We all do sometimes. Please reach out to our support team by dropping us a support ticket. We will respond fast.


