How to create a client and request for credit card details
This section applies once you’ve successfully set up the Web Hosting Billing System in Staq.
In this article, it explains how to:
- create a client
- assign a plan to them; and
- request for your client to create an account which includes entering their credit card details.
For your information, Staq does not store card details other than the last 4 digits and the expiry date. All credit card details are protected by Stripe.
Let’s get started!
Step 1 – Create a client profile
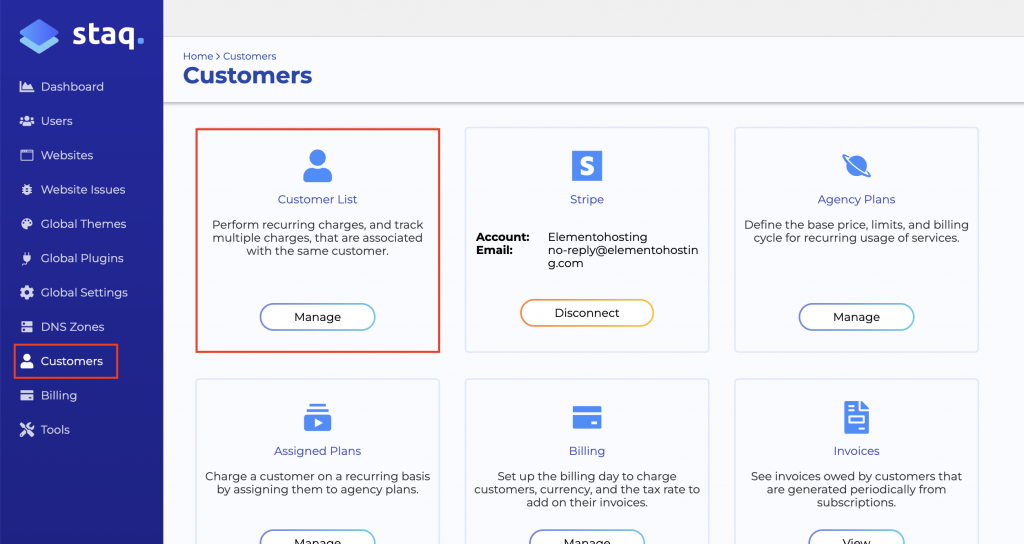
Under Clients, click Client List:
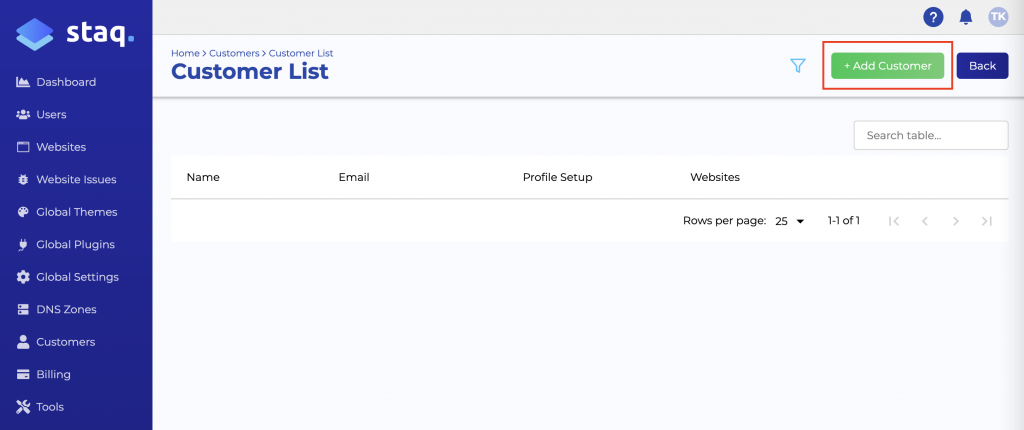
Click Add Client:
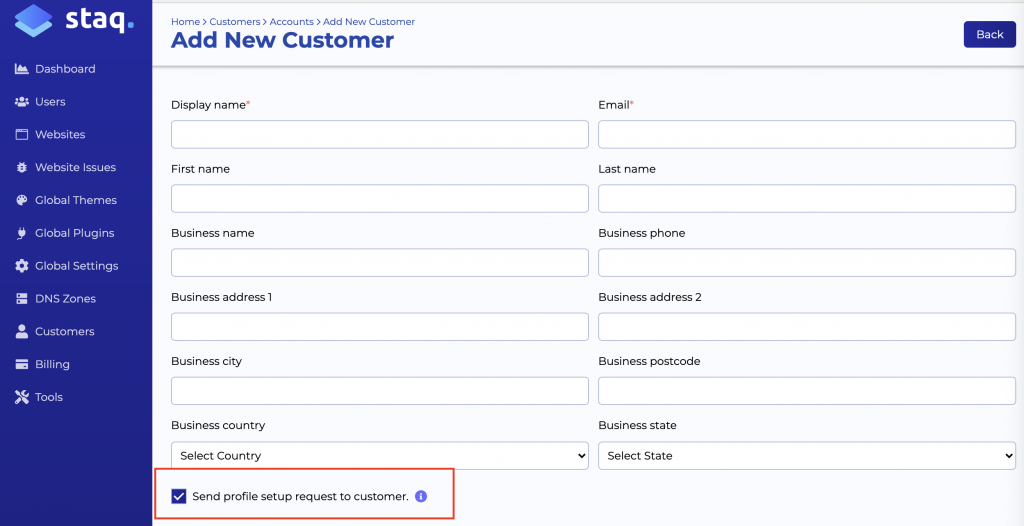
Proceed to fill out the form. As a minimum, all you need to fill:
- Display Name
Your client can fill the rest in after they finalize their account.
If you keep Send profile setup request to a client checked, it will send an automatic email to your client. If you prefer more control, uncheck this and see the next steps further down.
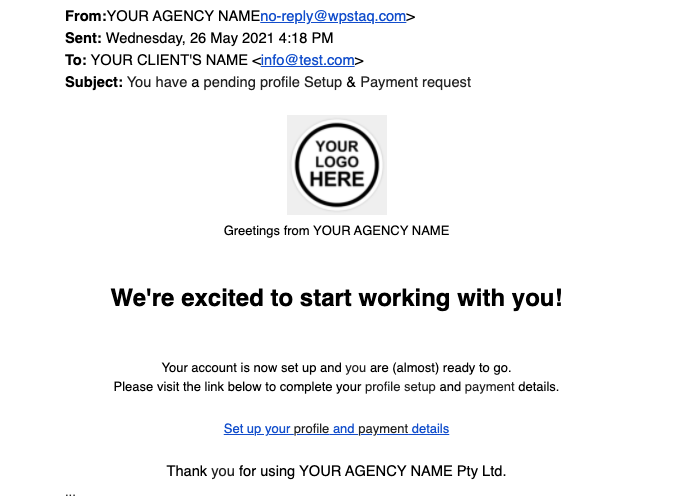
Your client will receive something like this (don’t forget in the previous tutorial, you can customize your email templates):
Manually send link to client to add credit card payment
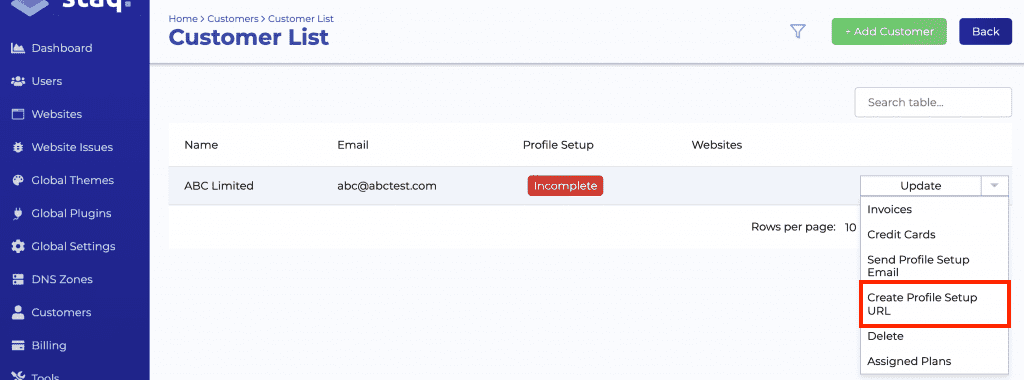
However, if you prefer more control, uncheck the box in the above image. You can then request a link to then send to your client by clicking the dropdown menu on the clients page and clicking Create Profile Setup URL. From there, you can paste the link in an email to your client.
Step 1.1 – Understanding what the label means under Profile Setup
If your client does not open the link from the automated email or from the URL that you sent to your client, it will show as Incomplete.
If they open the link, it will show as In Progress:
If they have completed the form, including adding their credit card details, it will show as Complete:
Up until this point, no plan has been assigned to your client.
Step 2 – Assigning a plan to a Client
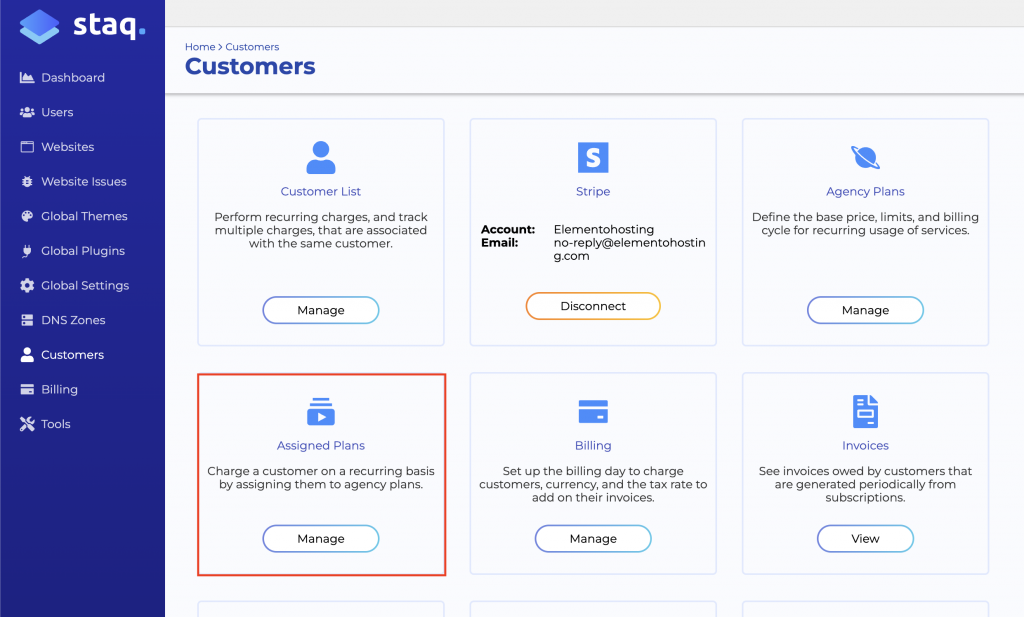
Under Clients, click Assigned Plans:
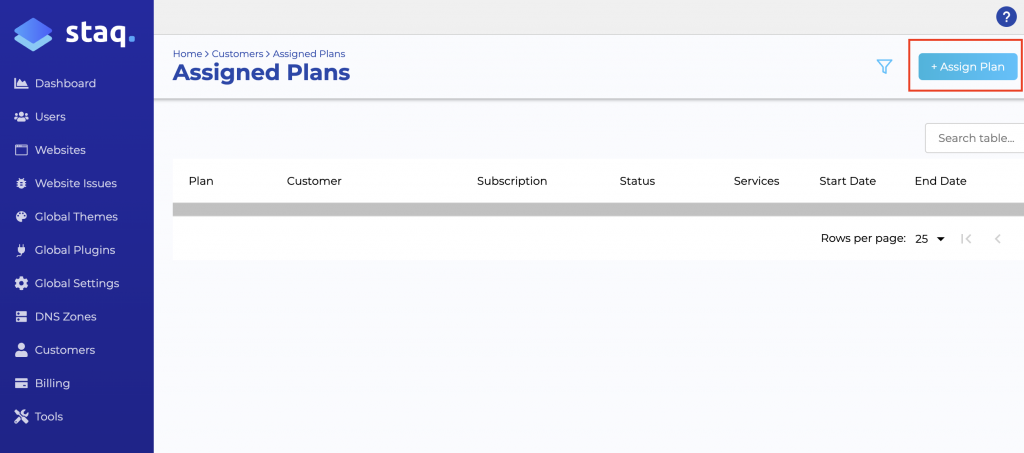
Then, click Assign Plan:
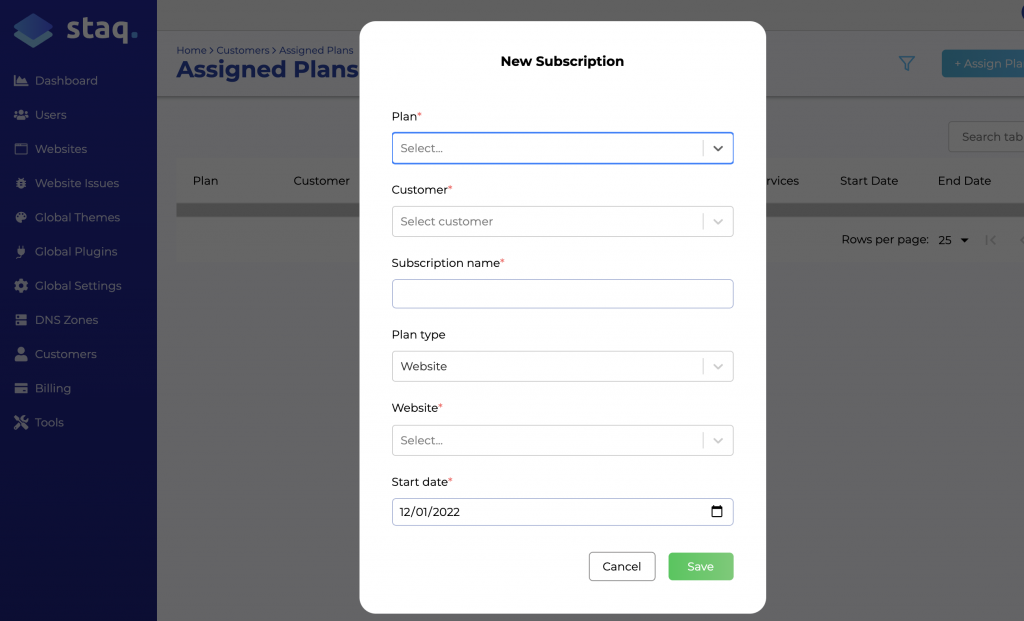
Fill in the details including selecting the Plan and the Client. The subscription name could be the client’s website name followed by website i.e. example.com website:
Your client will receive an automatic email to say that they have been subscribed to a plan.
Need some help?
We all do sometimes. Please reach out to our support team by dropping us a support ticket. We will respond fast.


